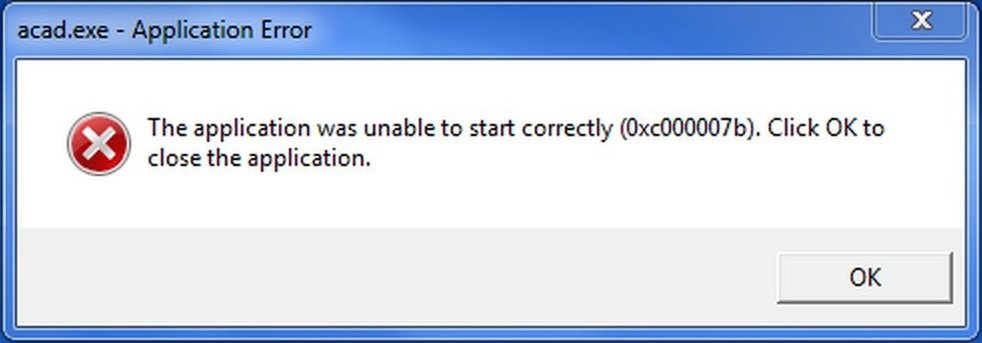

If you’ve ever tried launching a newly installed game or heavy desktop application on Windows only to be greeted by the dreaded 0xc000007b error popup, you know how frustrating it is. This error almost always boils down to a mismatch between 32-bit (x86) and 64-bit (x64) architecture files—usually involving corrupt or missing Visual C++ Redistributable packages or DirectX components.
Here is the step-by-step process to permanently clear this out:
1. Reinstall Microsoft Visual C++ Redistributables: Most of the time, the application is looking for specific DLL files that are either missing or conflicting. Go to the official Microsoft website and download both the 2015-2022 redistributable packages for both x86 and x64. Install them both, even if you think you already have them, and restart your computer.
2. Run the Application as Administrator: Sometimes Windows restricts an app from replacing or reading system-level DLLs. Right-click the application shortcut, select Run as administrator, and check if it boots up.
3. Check for Missing DLLs Using Dependency Walker: If the issue persists, download a diagnostic tool like Dependency Walker or Process Monitor to see exactly which MSVCP140.dll or similar file is throwing a red flag, then drop a fresh copy of that specific file into your C:/Windows/System32 and C:/Windows/SysWOW64 folders.